Maintenance & Calibration for Your Weather Station
Keep your weather station accurate with a practical maintenance and calibration schedule — covering sensor cleaning, drift correction, and replacement timing.
Quick Answer
A weather station left unmaintained for a year will drift. Humidity sensors read high as the capacitive element absorbs contaminants, rain gauges under-count as debris blocks the funnel, and wind sensor bearings stiffen. A quarterly maintenance schedule — cleaning, inspection, and comparison against reference data — catches these problems before they corrupt months of observations. This guide in the Tutorials section provides a practical calendar and calibration methods for every common sensor type.
What This Guide Covers
We cover a recommended maintenance schedule (monthly, quarterly, and annual tasks), cleaning procedures for each sensor type, calibration methods you can perform with household equipment, techniques for detecting sensor drift over time, decision criteria for repair versus replacement, and record-keeping practices. Accurate maintenance depends on having your station properly installed in the first place — see the placement best practices guide for siting fundamentals.
The data quality concepts here complement the Station Data Sanity Checks reference, which covers software-side validation of your readings.
Maintenance Schedule
Monthly Tasks (15 minutes)
- Visual inspection. Check for physical damage, displaced sensors, loose cables, wildlife interference (bird nests in radiation shields are remarkably common), spider webs on anemometer cups.
- Rain gauge funnel. Remove leaves, debris, insects, and dirt. A partially blocked funnel under-counts rainfall. In autumn, monthly is not enough — check after every windstorm.
- Check data continuity. Review your dashboard or database for gaps, flatlines, or sudden jumps. A sensor that has been reading exactly the same humidity for three days straight is almost certainly stuck or failed.
- Battery check. If any sensors use batteries, check voltage levels. Replace proactively when voltage drops below the recommended threshold — do not wait for failure.
Quarterly Tasks (30–60 minutes)
- Radiation shield cleaning. Disassemble the louvres and wash with mild soapy water. Pollen, dust, and spider webs reduce ventilation and increase solar heating error. Rinse thoroughly and dry before reassembly.
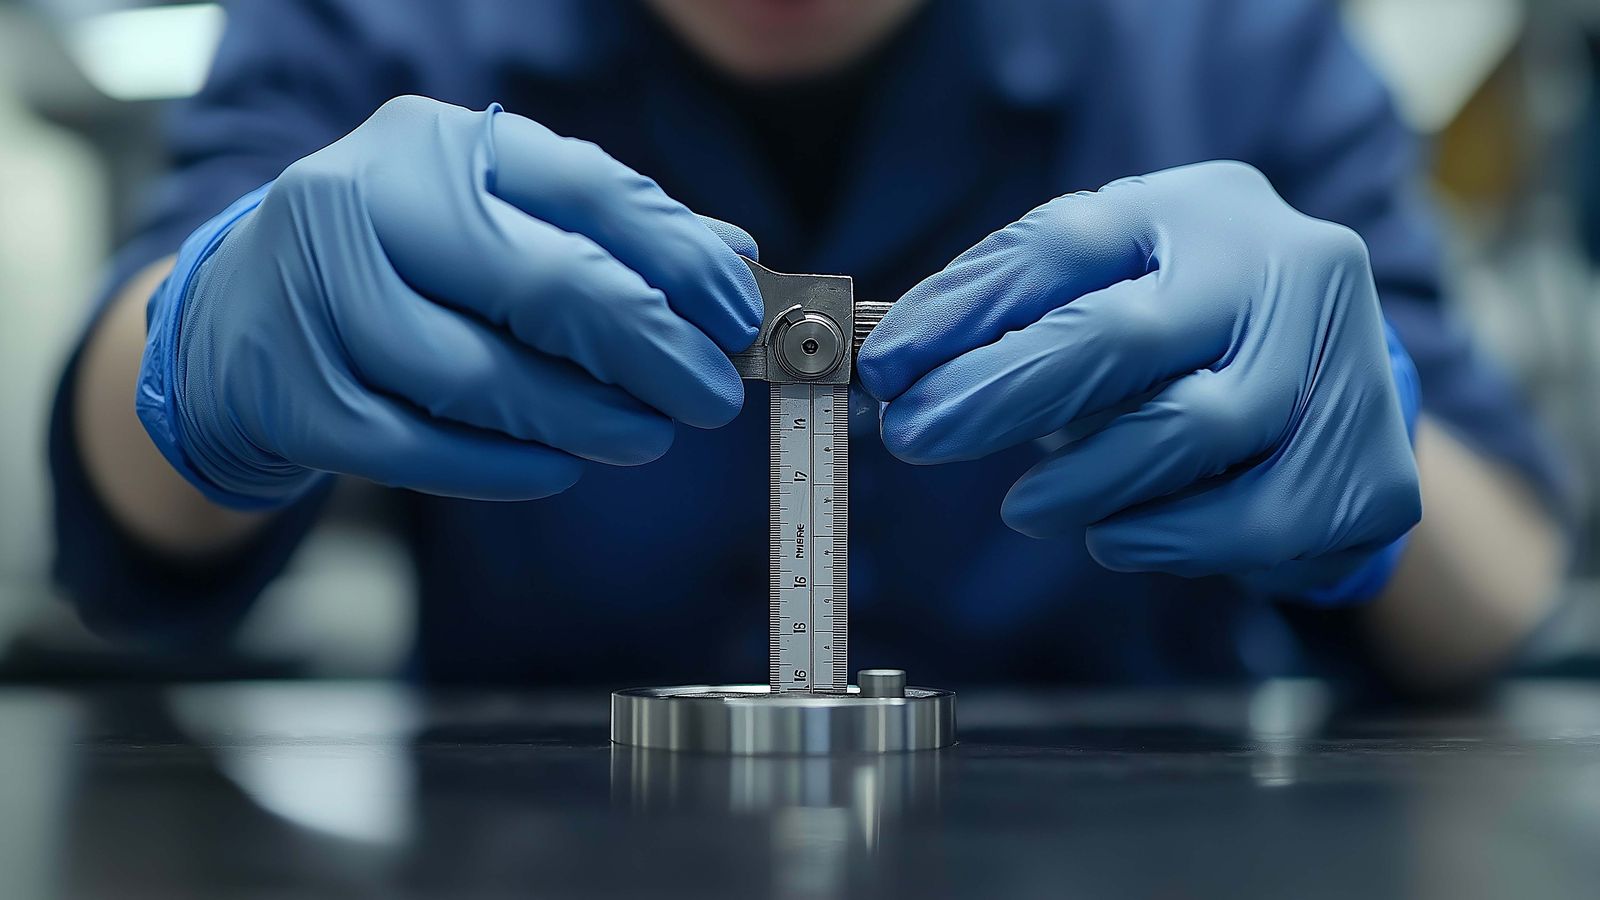
- Anemometer inspection. Spin the cups by hand. They should rotate freely with minimal resistance. If the bearings feel stiff or gritty, clean with isopropyl alcohol and lubricate with a drop of light machine oil (not WD-40, which is a solvent, not a lubricant).
- Wind vane check. Confirm the vane moves freely through 360° and settles in the direction of any gentle breeze. Check alignment against a compass (corrected for magnetic declination).
- Compare readings. Cross-reference your temperature and pressure against the nearest airport METAR report. Consistent offsets suggest calibration drift. A new offset that appeared suddenly suggests a hardware change (sensor failure, obstruction, shield damage).
- Data backup. Export your database or archive files to a separate storage device. SD cards fail. Hard drives fail. The data is irreplaceable.
Annual Tasks (2–4 hours)
- Full calibration check. Perform the calibration procedures described below for temperature, humidity, and rain gauge.
- Pressure sensor calibration. Compare your sea-level-corrected pressure against official METAR data averaged over a calm day (stable pressure makes comparison easier). Adjust the station's pressure offset if needed.
- Cable and connector inspection. Check for UV degradation on outdoor cables, corrosion on connectors, rodent damage. Replace anything that looks marginal.
- Firmware and software updates. Update station console firmware and weather software. Check for bug fixes and sensor handling improvements.
- Radiation shield replacement. Basic plastic shields degrade in UV over 3–5 years. The plastic becomes brittle and loses reflectivity, increasing solar heating error. Replace when discoloured or cracked.
- Battery replacement. Even if batteries test OK, proactive annual replacement of sensor unit batteries prevents mid-winter failures.
Calibration Methods
Temperature: Ice Bath and Boiling Water
The two-point calibration method:
Ice bath (0 °C reference). Fill an insulated cup with crushed ice and add a small amount of cold water. Stir gently. The temperature at the ice-water interface is 0.0 °C (at standard pressure). Place the temperature sensor probe in the slurry and record the reading after it stabilises (2–3 minutes). Note the offset from 0.0 °C.
Boiling water (100 °C reference, altitude-corrected). Boiling point decreases with altitude — at sea level it is 100.0 °C, at 500 m it is approximately 98.3 °C. Use a boiling point calculator with your station's elevation. Hold the sensor in the steam above boiling water (not submerged in the liquid). Record the reading.
If both points are within ±0.5 °C, the sensor is adequately calibrated for weather observations. If either is off, apply a linear offset correction in your station software. Most weather software supports a calibration offset for each sensor.
Warning: Do not submerge electronic sensor assemblies in water. For integrated sensor units (like the ones in consumer weather stations), use the ice bath only and verify the second point against a reference thermometer rather than boiling water.
Humidity: Saturated Salt Solutions
Certain salt solutions in sealed containers produce a known relative humidity at equilibrium:
| Salt | Target RH (at 25 °C) |
|---|---|
| Lithium chloride (LiCl) | 11.3% |
| Sodium chloride (NaCl) | 75.3% |
The NaCl test is most practical. Place the sensor and a shallow dish of saturated salt solution in a sealed zip-lock bag or airtight container. Wait 8–12 hours for equilibrium. The sensor should read 75 ± 2%. If it reads significantly higher (which is the typical drift direction for capacitive sensors), note the offset.
Capacitive humidity sensors degrade over time — a 5% upward drift after 3–4 years is normal. If the drift exceeds 10%, replace the sensor rather than trying to correct it.
Rain Gauge: Measured Volume Test
- Use a graduated cylinder or syringe to measure a precise volume of water.
- Calculate how many millimetres of rainfall that volume represents for your gauge's collection area.
- Collection area of a standard funnel ≈ 55 cm² (varies by model — measure yours)
- Volume (mL) / Area (cm²) × 10 = rainfall (mm)
- Slowly pour the measured water into the gauge funnel.
- Compare the gauge's accumulated reading against the calculated amount.
For tipping-bucket gauges, the tips should match the expected count. If the gauge consistently under-reads, the tipping mechanism may need cleaning or adjustment.
Pressure: METAR Comparison
On a day with stable pressure (no fronts passing through), compare your station's sea-level-corrected pressure against the nearest airport METAR report every hour for six or more hours. The METAR station is professionally maintained and calibrated.
Average the differences. If your station consistently reads 1.5 hPa higher than the METAR, apply a −1.5 hPa offset. Before adjusting, verify that your station's altitude setting is correct — altitude errors are the most common cause of persistent pressure bias.
Detecting Sensor Drift
Sudden changes in sensor readings usually indicate hardware failure — a broken wire, dead battery, or failed sensor element. Gradual drift is subtler and harder to catch without systematic monitoring.
Techniques:
- Rolling comparison with METAR. Log the difference between your readings and the nearest METAR station daily. Plot this difference over months. A flat line means your sensor is stable. An upward or downward trend indicates drift.
- Multi-sensor cross-checks. If you have multiple temperature sensors (indoor, outdoor, secondary), compare them. A sensor drifting away from the others is the suspect.
- Statistical monitoring. Track monthly average offsets from historical normals. A station that was consistently close to regional averages and gradually diverges is likely experiencing sensor degradation.
- Physical inspection correlates. Discolouration on a radiation shield, corrosion on a sensor element, or a stiffening anemometer often accompanies the drift you see in the data.
The Python/Pandas analysis guide provides code examples for drift detection using rolling statistics and anomaly flagging.
Repair vs. Replace Decision Matrix
| Symptom | Likely Cause | Repair or Replace? |
|---|---|---|
| Temperature reads 1 °C high consistently | Calibration drift | Adjust offset (repair) |
| Temperature jumps erratically by 10+ °C | Failed sensor element or loose connection | Replace sensor |
| Humidity reads 85% when other sources show 60% | Capacitive element degradation | Replace sensor |
| Wind speed always reads zero | Stuck bearings or broken reed switch | Clean first, replace if persists |
| Rain gauge tips randomly in dry weather | Debris in mechanism or spider webs | Clean (repair) |
| Pressure reads 5+ hPa off from METAR | Wrong altitude setting or sensor failure | Check altitude first, then recalibrate or replace |
Keeping a Maintenance Log
Record every maintenance action with the date, what was done, and any readings noted. This log is invaluable for:
- Correlating data anomalies with physical events (the reading jumped when you cleaned the shield)
- Tracking sensor lifespan (knowing when sensors were installed helps predict replacement timing)
- Station metadata for data sharing networks
- Troubleshooting regressions (what changed between the last good reading and now?)
A simple spreadsheet or text file works. Include: date, task performed, sensor readings before and after, parts replaced, observations.
Common Mistakes
- Never cleaning the rain gauge. A partially blocked funnel is invisible in the data — it just silently under-reports. Monthly cleaning is the minimum.
- Using WD-40 on anemometer bearings. WD-40 is a water displacer and solvent, not a lubricant. It strips existing lubrication and evaporates. Use a proper light machine oil or silicone lubricant.
- Ignoring humidity sensor drift. Because humidity changes naturally throughout the day, a gradual upward drift of 5% is hard to notice without systematic comparison. By the time dew point calculations start looking wrong, the sensor has been inaccurate for months.
- Not documenting calibration changes. If you apply a new offset correction, note the date and reason. Unexplained jumps in historical data confuse future analysis.
- Replacing batteries in winter. Some sensor units lose their calibration settings when power is interrupted. Check your manual before removing batteries, and replace during mild weather when you can verify readings immediately.
Related Reading
- Weather Station Placement Best Practices — siting fundamentals
- Station Data Sanity Checks — software-side data validation
- Python Data Analysis — drift detection with code
- Publishing Fundamentals — ensuring accurate data reaches your dashboard
- Community Support — maintenance advice from other operators
FAQ
How often should I completely replace a sensor unit? Most consumer station sensors (temperature, humidity, wind) last 3–7 years depending on climate exposure and build quality. Plan for replacement at the 5-year mark. Pressure sensors last longer (10+ years) since they are typically indoors.
Can I calibrate sensors without professional equipment? Yes. The methods described here (ice bath, salt solution, rain volume, METAR comparison) are accessible and adequate for hobbyist weather observations. Professional calibration laboratories achieve ±0.1 °C accuracy; household methods achieve ±0.5 °C, which is sufficient for most purposes.
What about UV and solar radiation sensors? UV and pyranometer sensors degrade with exposure (ironic, given their purpose). They are difficult to calibrate without reference instruments. Replace every 2–3 years or compare against nearby professional stations if available.
Do wireless sensor units need different maintenance? Wireless units need battery monitoring and RF signal quality checks in addition to standard sensor maintenance. Corrosion on battery contacts is a common wireless-specific failure mode.